使用 Hugo 在 github 部署個人網站
github 本身可以讓我們部署靜態網站,而 hugo 則能協助我們將 markdown 結合 theme 轉換成網頁檔,在透過 github Action 可以自動將 hugo 轉換成網頁檔推送上去!讓我們輕鬆的部署各種網站
之前有用 hugo 來放些雜物,趁今天颱風假更新了 theme,推上去的時候,遇到了些問題,所以就順便記錄一下解決的方式
怎麼在 github 部署網站
github 每個 repo 的 gh-pages 分支,都支援靜態網站,只要對應的路徑有網頁檔案即可~
url: https://$username.github.io/$repo
特別是 repo 名稱是 $repo.github.io ,url 直接為 https://$username.github.io
很適合作為我們個人網站的入口!
如何設定

- 進入到 Settings 頁面,並點選左邊 sidebar 的 pages
- 挑選你的設定
但是要自己生產網頁檔很麻煩,除了要 html 檔,同時還要搭配著 css,編寫完後,成上線了。之後要更換樣式風格,又要重覆這個過程。
這時候我們就需要 hugo 這個框架,來協助我們產生部署所需要的網頁檔,讓我們可以更專注在內容的產出!接下來就是來介紹~
什麼是 hugo
The world’s fastest framework for building websites | Hugo (gohugo.io)
- 使用 markdown 撰寫內容
- 藉由不同的 theme 快速轉換風格
- 支援 i18n
- 架設網站極快速
首先我們要先來設定 github action,將 hugo 跟上面提到 gh-pages 連結在一起。
🧑💻 Github Action 設定
參考的文件
我自己是參考這篇
你也可以參考這篇
Configuring a publishing source for your GitHub Pages site — GitHub Docs
下面會帶到我使用的第一個方法 ~
流程
將下面的檔案放在 repo 下的 .github/workflows/gh-pages.yml 即可
name: GitHub Pages

on:
  push:
    branches:
      - main  # Set a branch name to trigger deployment
  pull_request:

jobs:
  deploy:
    runs-on: ubuntu-22.04
    permissions:
      contents: write
    concurrency:
      group: ${{ github.workflow }}-${{ github.ref }}
    steps:
      - uses: actions/checkout@v3
        with:
          submodules: true  # Fetch Hugo themes (true OR recursive)
          fetch-depth: 0    # Fetch all history for .GitInfo and .Lastmod

      - name: Setup Hugo
        uses: peaceiris/actions-hugo@v2
        with:
          hugo-version: '0.110.0'

      - name: Build
        run: hugo --minify

      - name: Deploy
        uses: peaceiris/actions-gh-pages@v3
        # If you're changing the branch from main,
        # also change the `main` in `refs/heads/main`
        # below accordingly.
        if: github.ref == 'refs/heads/main'
        with:
          github_token: ${{ secrets.GITHUB_TOKEN }}
          publish_dir: ./public
on.push :會觀注 master 分支,若有更動則會觸發此 workflow。因此 hugo 程式碼要推到這邊。
jobs.deploy.steps[-1] :Deploy 區塊,github_token 是內建的可以直接拿來用
使用
- 更新
main分支,就會自動觸發 workflow - 此 workflow 會完成 hugo 的網頁生成,然後推送到
gh-pages分支 gh-pages會將對應的網頁檔更新到網站上
Hugo
Quick start | Hugo (gohugo.io)
安裝
在 mac 上直接用 brew 安裝
brew install hugo初始化
以下指令會在目前的位置,新增一個 demo 的資料夾,裡面會是 hugo 的檔案結構
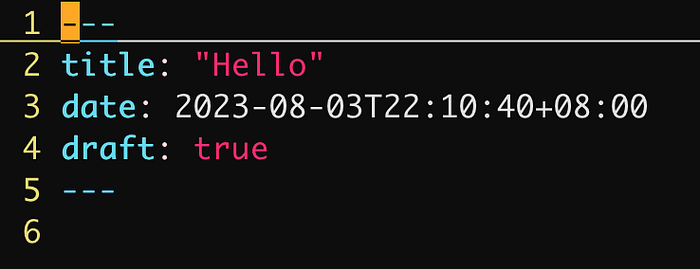
hugo new site demo新增內容
此指令會依據 archetypes的範本生產出檔案,位置會是在 content/$path
hugo new posts/hello.md預設是草稿狀態,記得要修改 draft: false
使用 theme
這邊直接複製官方的指令
git init
git submodule add https://github.com/theNewDynamic/gohugo-theme-ananke.git themes/ananke
echo "theme = 'ananke'" >> hugo.toml
如果想用別人的 theme,可以去 Complete List | Hugo Themes (gohugo.io) 找喜歡的。記得點進去 theme 裡面的 github,然後每個 theme 的設定檔都不一樣,要注意查看修改,才能更符合自己想要的。
運行
hugo server 上面的指令會起個服務在 local 端,但不會包含草稿。若是要加上草稿
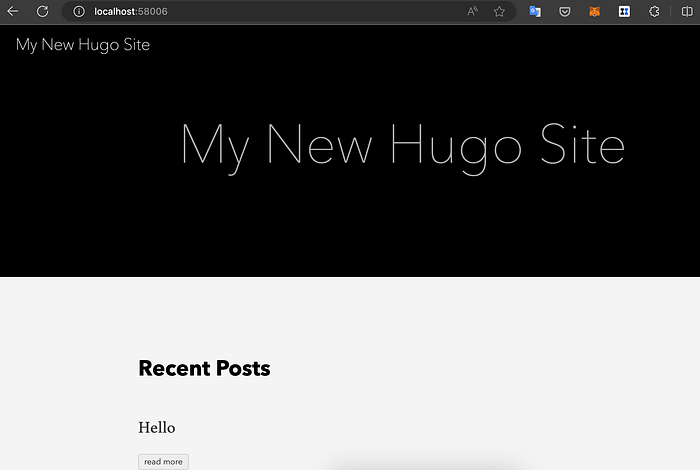
hugo server -D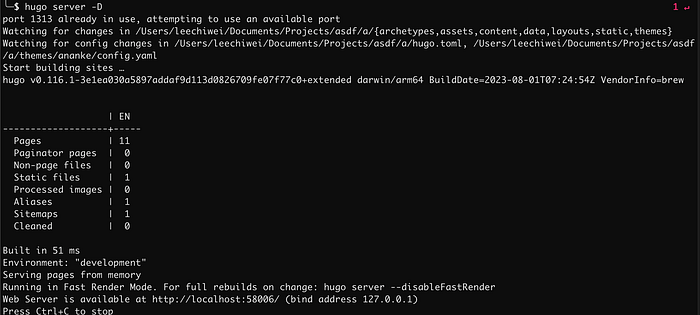
下面是 demo 的樣子
扔上去 github
內容新增完後,記得要將 draft 欄位改 false,這樣 push 上去,才會看得內容 XDDDD
延伸
接下來可以研究的方向
了解資料架構,知道如何增加功能頁面,像是搜尋、個人頁面等等。
2. 嘗試用多語系
結論
藉由這篇希望大家都能開始用 github 架設自己的個人網站。我自己也正在努力趕工修改中
(●´ω`●)ゞ
🐥 ️Feel free to contact with me:
Email: sean22492249@gmail.com